
“Research Project” – The term that makes students groan! It doesn’t have to be that way, friends! Research skills have been part of my curriculum standards for as long as I’ve been a teacher, but honestly, for years, I just let the librarian handle that aspect of my students’ education. I didn’t want to mess with the notes, reports, and works cited pages. Thankfully, I changed my attitude and looked into how I could make research projects engaging, interesting, and history-based.
The research project I created is called “Expert Historians.” This project consists of three parts:
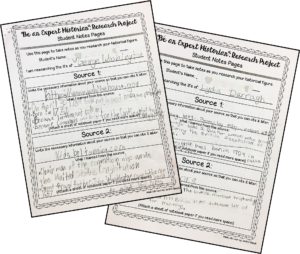
- Finding Reliable Sources and Taking Notes
- Composing a One-Page Written Report
- Presentation
Finding Reliable Sources and Taking Notes
Let’s get started! The notes that students take will provide all of the information needed to complete the research project. I required students to use three sources for their notes. I taught about reliable sources, how to cite sources, and how to take notes before I asked students to complete their notes. We used books, encyclopedias, and internet sources for students’ notes. I had students do all of their research at school so that I could be there to supervise and provide assistance. Also, I wanted to keep the pages in my room so that they weren’t lost.
Written Report
The first time I led my students in completing this research project, I thought the written report would be a monster to get done. It really wasn’t! I created an example using Benedict Arnold. I showed students how to use their notes pages to write the written report. We talked about chronological order and necessary vs. unnecessary details. We also discussed plagiarism and how to avoid it. I required single page written reports so that students could have some practice deciding what information was most important. Also, it’s much less time consuming for me to grade single page reports.

Preparing for Students’ Presentations
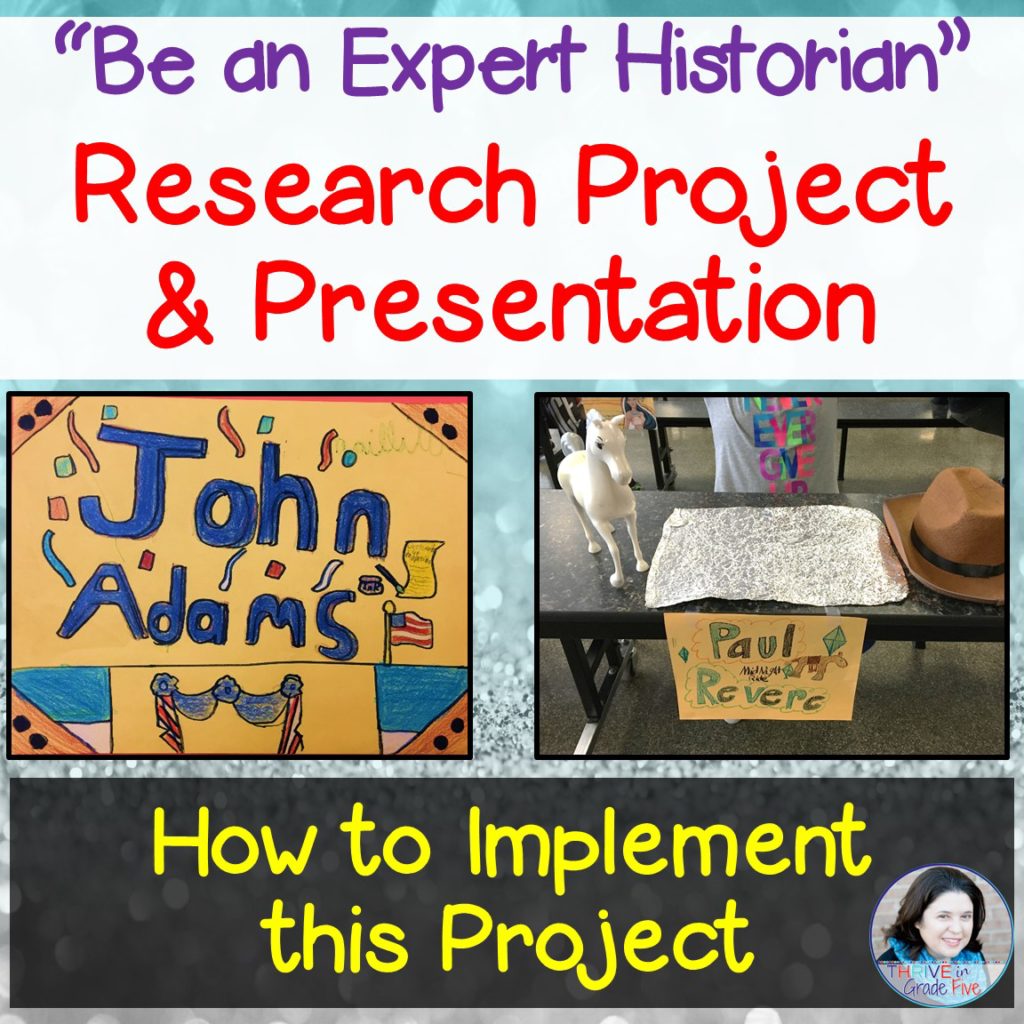
Have you seen the Pinterest posts in which students have dressed up as the historical figures they researched? I have always LOVED this idea. However, I face the reality of working in a high-poverty school. Very few of my students would be able to afford costumes and accessories. So, I came up with an alternative for students’ presentations. They brought in three tangible items that help tell the story of their historical figure’s life. These items could be easily obtained at home or school. For example, Thomas Jefferson wrote the Declaration of Independence, so students who researched his life could use a pen as one of their tangible items. He was a violin player and knew how to write sheet music, so students could use a page of sheet music as one of their tangible items. During the presentations, students tell the story of their historical figure’s life and explain how the three tangible items relate to the historical figure.
This presentation is fabulous for shy kids who would be terrified to present in front of a class. On the flip side, this type of presentation is great for outgoing kids because they will be able to tell about their historical person multiple times. Here’s how it works: Students sit at their assigned tables with their sign taped to the front of the table. They are to arrange their tangible items on the table so that they are fully visible to visitors. Students will tell the story of their historical figure’s life to visitors, using their tangible items.
Presentations
Be sure to send out parent invitations at least 2 weeks in advance.
When deciding where to hold the presentations, remember that students need table space to present their tangible items. You will want to enlist the help of your co-teachers so that you can grade the presentations easily. I recommend walking around with clipboards and grading with the rubrics during the presentation so that you will not have much to do after the presentations are over.


If you are interested, I placed all of the printables for this research project into one file. I also included rubrics, teaching pages, the student example, and detailed teacher notes in this product. Just click on the image below to view this on TPT:


4 Comments
Hi Jenifer……,
Where do you teach in Oklahoma??
I always enjoy your updates and all of your items. Thank you very much.
You are so welcome, Robin! I’m right outside of Oklahoma City 🙂
I wish this blog had posted two weeks earlier!! I just finished writing reports and drawing portraits with my first two classes. I will start with the other two classes tomorrow. I am purchasing your packet to help me with citing sources as I am terrible with that! In the past, we would present them in a wax museum. As we do not have time for those this year, I will make copies of them all and bind them into books for those students in each class.
Thank you for sharing, Denise!